Saturday, November 21, 2015

Holiday Style Subtle Stenciling

I was initially stumped about Soft and Subtle cards...and then I found a combination I will be using again!

The background was created with Texture Paste spread through Tim Holtz Festive stencil.  After removing the stencil, I sprinkled the wet paste with Ranger Silver Pearl embossing powder and let it dry completely.  It was magic to apply the heat and melt the powder--a lovely pearl shine!

The Santa image is an old stamp from an unknown source.  I watercolored it with Distress Ink reinkers.  The layering paper was created with Inka Gold Platinum spread on white cardstock....it matched the shine of the stencil!

Thanks for taking a look!

Holiday Style, 1 Stamp 5 Ways - Card #5

This was a fun challenge to try to come up with different ways to use the same stamp!

I stamped Stampendous Jumbo Pointsettia multiple times on kraft paper with Tree Branch Archival Ink.  The circle is stamped with Jet Black Archival Ink and colored with Prismacolor pencils.

The green layers were created with Emerald Green Inka Gold so it has a nice shine!  The sentiment was cut on the Cricut and mounted on vellum to help set it off.

Thanks for taking a look!

Holiday Style 1 Stamp 5 Ways, Card #4

I am continuing to play with Stampendous Jumbo Poinsettia to try to do 5 different styles.  This is the 4th card.


I stamped on vellum and embossed with white embossing powder.  I cut it down to the desired size keeping the petals that hung over the rectangle.

It looked too plain so I pulled out the Inka Gold Platinum and spread outside the flower.  (I had a mask to keep the Inka Gold off of the petals.

The sentiment is a Simon Says Stamp die.

Thanks for looking....card #5 is coming next!

Friday, November 20, 2015

Holiday Stamp, 5 Ways--Card #3

I am continuing my attempt to use the Stampendous Jumbo Poinsettia stamp in 5 ways.

This card uses paper piecing with papers from Authentique.  Sentiment is from Simon Says Stamp.  The kraft paper was stamped with Impression Obsession Ticking in Vintage Photo Distress Ink and then smudged further to make the stamping more subtle.

I have to finish up Cards 4 & 5 this weekend.

Thanks for taking a look!

Holiday Stamp, 5 Ways

I am taking on the challenge from the Online Card Class Holiday Style to use one stamp in 5 ways.  I used this stamp in a Day 3 link.  This one was stamped on watercolor paper with Faded Jeans Distress Ink with more added to provide shading.

Poinsettia is from Stampendous, senctiment is Simon Says Stamp.


 This next card uses no-line watercoloring.  I stamped with Distress Ink Antique Linen.  The lines disappeared as I added the color.  Some gold splatters and the gold layering paper was created from Inka Gold.  Sentiment from Just Rite stamps.

My next post will have the third card.

Thanks for looking!


Monday, November 16, 2015

Holiday Style Shimmer and Shine

I was inspired by Kristina Werner's card today.  I didn't have glitter paste so I used Texture Paste with the Tim Holtz Festive stencil and sprinkled with Silver Tinsel Embossing Powder.  After letting it dry, I heat embossed.  Wow!  What shine!


I cut multiple sentiments on my Cricut to get a thick embellishment.  The trim pieces are Inka Gold silver.

Thanks for taking a look!

Friday, November 13, 2015

Bird Crazy Holiday Style!

The Santa hat from Crazy Things finally saw some ink today.  I was inspired to pull out my Tim Holtz supplies.

The look on the bird's face just makes me giggle when paired with the "Be Joyful" sentiment.  The bird and accessories were stamped on watercolor paper and colored with Distress Ink reinkers.  Glssy accents were added to the eyes to give some shine and dimension. 

The background are Tim Holtz dies.

Stamps: Stampers Anonymous Bird Crazy and Crazy Things
Sentiment:  Simon Says Stamps Be Joyful
Die:  Sizzix Tim Holtz Holiday Knits

Thanks for taking a look!

Holiday Style, Day 5

Although I have stamp sets that fit the bill...I seem to struggle with cute and whimsical.  I do appreciate the inspiration from the Online Card Class to try to stretch my comfort zone!


The background is watercolor paper created with Brusho.  Once dry it was spritzed with Picket Fence Distress Stain and watered down silver Inka Gold.

The stamps were colored with Prismacolor pencils.

Stamp set: My Favorite Things Jingle All the Way

Thanks for looking!

One More Card Inspired by Holiday Style, Day 1


While I had the Brusho out, I made another panel and covered it with a design cut from a Martha Stewart punch.  I splattered the card base with watered down silver Inka Gold.  A sentiment and die cut snowflakes finished it off.

Sentiment:  Simon Says Stamp Big Scripty Greetings Holiday
Snowflake Die:  Impression Obsession Small Snowflake

Thanks for taking a look!

Holiday Style, Day 1

I was inspired by Debby Hughes card from Day 1.


After embossing the snowflakes in Ranger Silver Pearl embossing powder on watercolor paper, I used Brusho to create the background...love unexpected results!

The white cardstock was cut with My Favorite Things Stictched Snow Drifts and the sentiment stamped with Ranger Platinum embossing powder.

The snowman was colored with Prismacolor pencils.

Stamps:  Sentiment and snowman both from Hero Arts Snowman Christmas.

Thanks for taking a look!


Season's Greetings Greenery

I was inspired to play along with the Muse: Christmas Visions Challenge.  I loved the watercolored greenery and decided to follow that theme with stamps rather than a die.


After taping down watercolor paper, I did a light wash of Forest Moss and Peeled Paint Distress Inks around the edge.  I then painted and tapped Distress Ink onto the stamp and stamped randomly around the edges.  (Using a combination of Walnut Stain, Ground Espresso, Peeled Paint and Forest Moss--I could have also used markers.)

I used clean water to soften the stamping and give it a watercolor look.

The sentiment is stamped with Versamark and embossed with Copper embossing powder.  I watered down some Copper Inka Gold to add metallic splatters to the piece then mounted on dark green cardstock.

Stamps:  Penny Black Joyous, Simon Says Stamp Big Scripty Greetings Holiday

Thanks for looking!

Pink, White & Green Christmas Card

Today I am playing along with the Merry Monday Christmas Card Challenge to use Pink, White & Green in a card. 


I heat embossed the sentiment and greenery in Ranger Silver Pearls embossing powder (almost white!) on glossy paper then covered with Worn Lipstick Distress Ink.  I have become fond of the soft colors that I get on glossy paper.

Using clean water, I painted off the color on the leaves and berries and painted them over with Twisted Citron and Festive Berries Distress Ink.

The pink panel is layered on cardstock with the edges colored with Platinum Inka Gold (so shiny!) then layered on a white card base.

Stamps:  Penny Black Festive Florals and Penny Black Season's Gifts

Wednesday, November 11, 2015

Holiday Style, Day 3 Inka Gold

I was inspired by Debby Hughes and her lovely white card.  This card uses Poppy Stamps Ornament Trio Cutout and Righteous Rings dies and Simon Says Stamp Merry Christmas die.


The card bases was colored with Inka Gold Metallic Rub to provide shine. 


The rings, hangers and the Merry Christmas were also colored with Inka Gold to give plenty of metallic shine.  The die cut piece was mounted on fun foam to provide nice shadows.

Holiday Style, Day 3

I was inspired by Kristina Werner's card on Day 3 of the Holiday Style Online Card Class.  Stampendous Jumbo Poinsettia was stamped with Stormy Sky Distress Ink and then the lines were blurred and shading added with the same ink. 

Big Scripty Greetings was stamped in Ranger Platinum Distress Ink.  The same Distress Ink was used to outline the paper.

Glossy Christmas Cards

I have discovered a new favorite technique with Distress Ink--the soft colors that come from using glossy paper!  I confirmed that photo paper doesn't work--I just get an awful squeak without the lovely blending.

This first card blends Antique Linen, Victorian Velvet, Seedless Preserves, Chipped Sapphire and Black Soot.  I stamped with a fun foam stamp sprayed with water to remove the color and create the subtle tree. The fun foam stamp was cut with an Impression Obsession tree die. I covered up the stamped tree and spritzed the rest of the panel to create a light snowfall.

Sentiment die also from Impression Obsession.

This next card has a glossy panel stamped with snowflakes from Penny Black Season's Gifts in Ranger Silver Pearl embossing powder.  The panel was then blended with Chipped Sapphire Distress Ink and spritzed with water to lighten and create an interesting texture.  The panel is mounted on cardstock colored on the edges with Platinum Inka Gold.  The blue cardstock was splattered with the watered down Inka Gold from my craft mat.  Sentiment also from Penny Black Season's Gifts.


The next two cards were stamped and embossed with Ranger Platinum embossing powder.


Sunday, August 16, 2015

Stitched Pastel Christmas Card

I was playing along with The Daily Marker Pop-Up Challenge to add stitching to a card.  I created a snowy scene with gold thread perfect for a snowman.  I gave him a pastel colored scarf to continue to play along with the Merry Monday Christmas challenge to create a pastel card.

The scarf is colored with Prismacolor pencils.  The sky is sponged with Tumbled Glass Distress Ink and the shadow on the snow is Pumice Stone Distress Ink. The sentiment is from Simon Says Stamp.  The stamp is Snowman Fun from Great Impressions.


Thanks for taking a look!

Pastel Christmas


Today I am playing along in the Merry Monday Christmas challenge to make a pastel Christmas card.  I chose a Mo Manning digital image that makes me smile and gave him a peach and mint colored scarf and hat set.  The image is colored with Prismacolor pencils.

I let the image take center stage with matching laying and a simple sentiment from Hero Arts.


I did add some sparkle to the snowflakes by sweeping a layer of the Faber-Castell Glass Bead Glitter Gel across the paper before die-cutting with the Impression Obsession Small Snowflake Die .


Thanks for taking a look!


Tuesday, August 11, 2015

Following a Muse with Penny Black

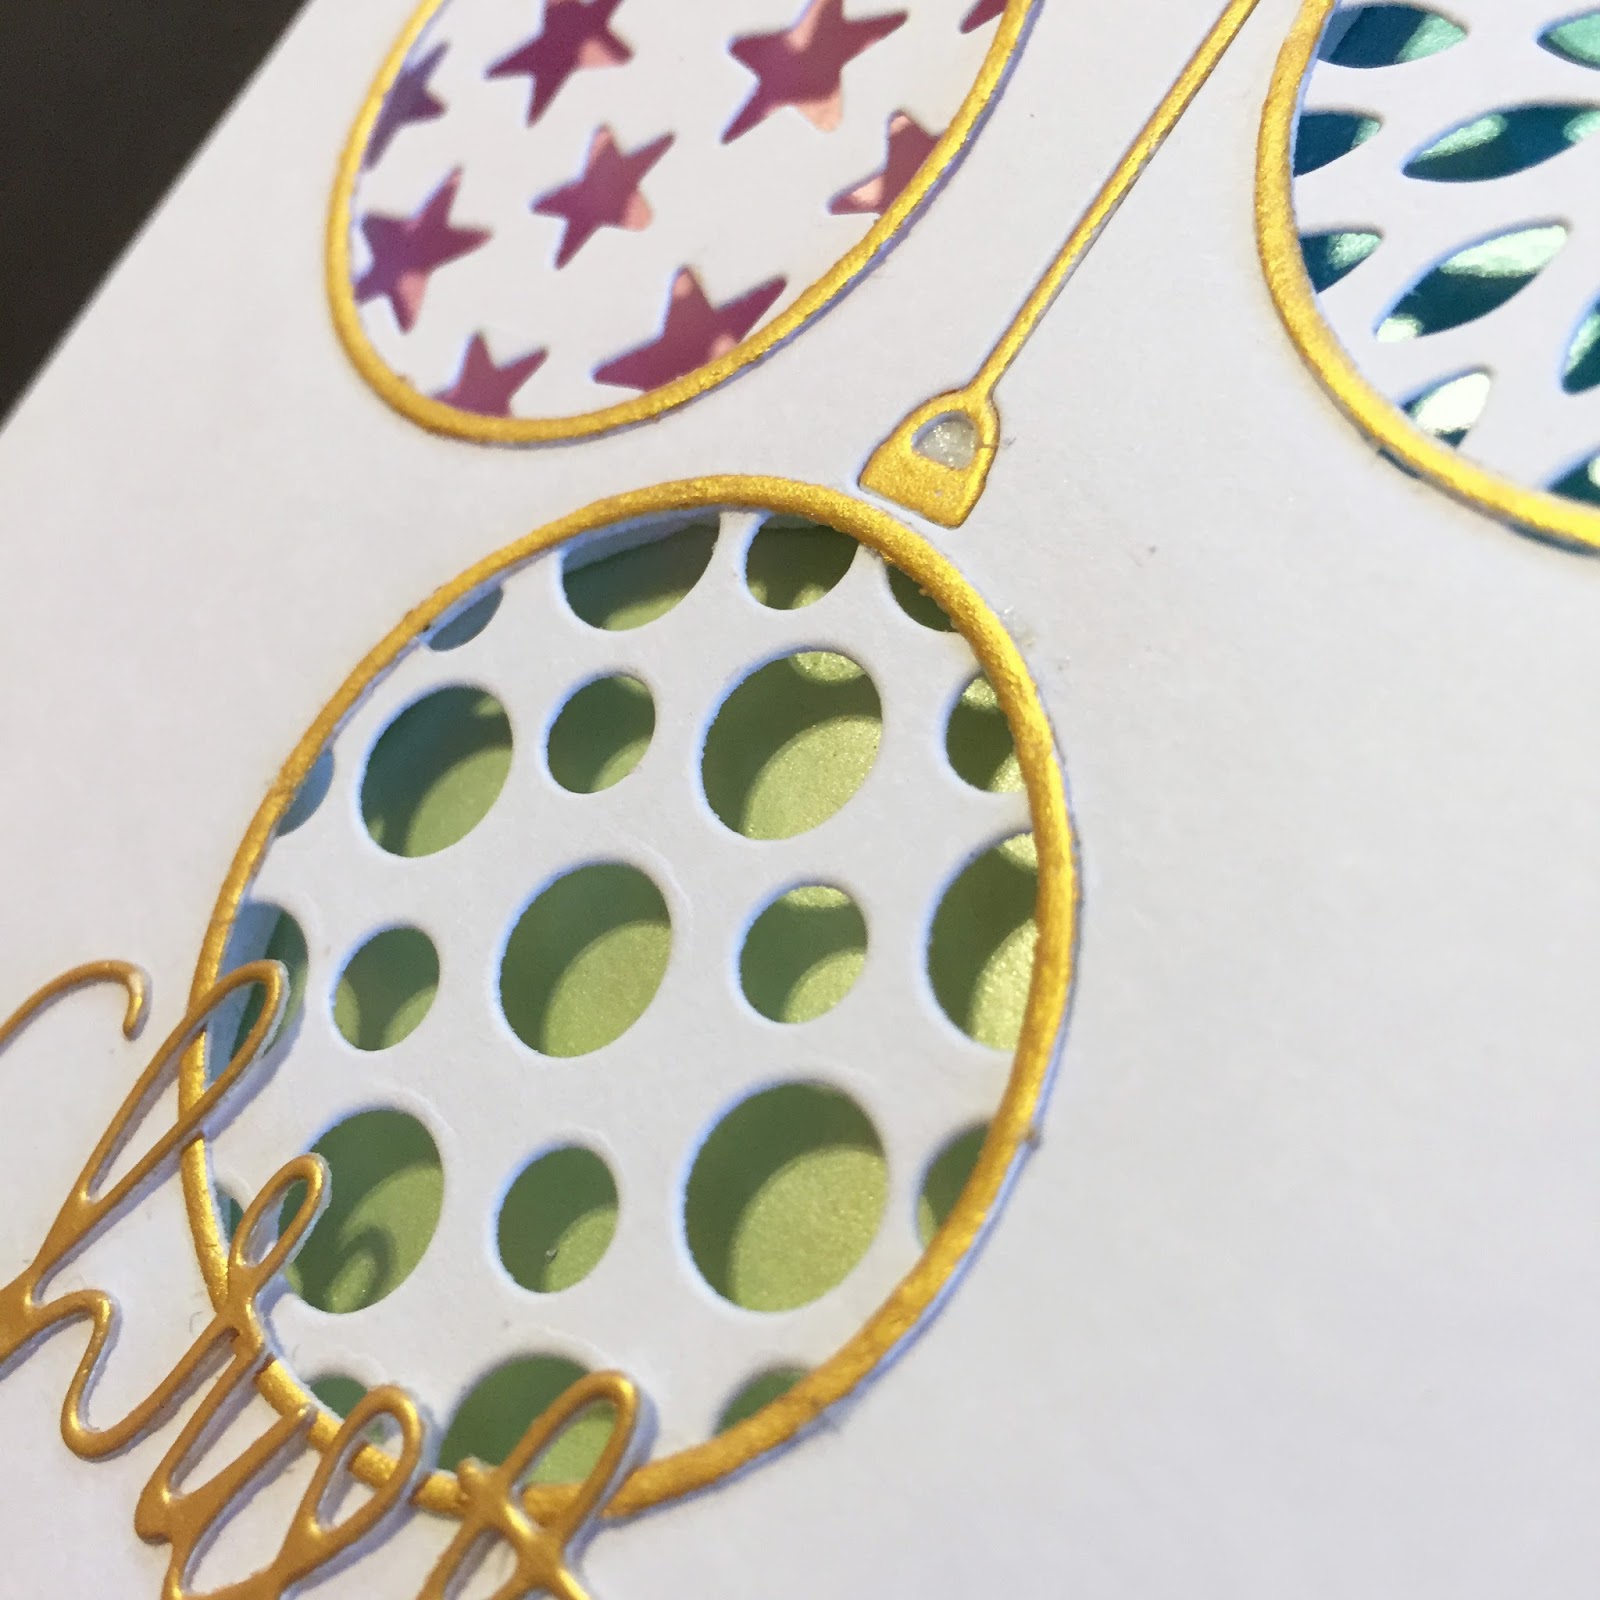
Life got in the way of creating so it is fun to get back to it!  I am trying to get my mojo back by participating in challenges.  Today I am playing along with the current Muse Challenge.  This card at the right was my inspiration.


My inspiration is fairly clear, the woodgrain, a large image and a die cut word.  I embossed the image and did a simple watercolor.
The die cut word is shadowed with a silver paper that was created by spreading Inka Gold (in Silver) onto cardstock and then buffing.  Provides a beautiful metallic shine!

Thanks for taking a look!

Stamp: Penny Black Flower Festival
Die:  My Favorite Things Many Stamps

Saturday, May 30, 2015

Playing with Embossing Powder

I am sorry to see the Online Card Class Mask-erade end...it has really gotten my creative juices going!  I am going to have to go back to previous classes and rewatch lessons!


I had fun pulling out my watercolor paper today!  I used three different embossing powders--clear, white, and Ranger Pearl Silver.  (The last one is shown in the photo below--it has a beautiful pearl shine.)  One word of caution--clear embossing powder does not behave well with regular watercolor paper--it takes on the yellowish cast of the paper.

 
Below are the four different pieces after watercoloring:


I haven't decided how to finish them off yet...


For the card above, I stamped a sentiment on vellum and heat embossed with Ranger Platinum embossing powder.

Since the card was a bit warped, I mounted it on a piece of fun foam and then adhered to the card base.

I added a few butterflies colored with the same colors.

Thanks for taking a look!

Dies:  Sizzix/Hero Arts Antique Flowers and ButterfliesImpression Obsession Butterfly Set

Stamp:  Stampers Anonymous/Tim Holtz Phrases 1 cling stamps

Friday, May 29, 2015

More Sentiment Making Fun!

I am blown away by how quickly a card can be put together using a freezer paper mask.

This was watercolored with Distress Ink reinkers (Peacock Feathers, Salty Ocean, Mermaid Lagoon.)  To add a bit more interest I cut it in half and popped it off the layer paper with foam tape.  A few sequins did it for this card. 

Here is a close-up of the depth of the card.


Thanks for looking!

Die:  My Favorite Things Die-Namics Many Thanks

Bird Crazy Masking

I am going back and catching up with the Day 1 lesson from Online Card Class Mask-erade.  Since I am crazy about the Bird Crazy stamp set, one of the birds had to show up on this card.


The masking and stamping was done on watercolor paper.  Distress Ink colors used:  Picked Raspberry and Peacock Feathers.  The card was sponged around the edges with the same colors and then spritzed with water for a matching border.

For this look, the masked hexagon seemed to need a border so that was hand drawn with a Faber Castell Pitt Pen.

Thanks for taking a look!

Dies:  Spellbinder Hexagon
Stamps:  Stampers Anonymous/Tim Holtz Bird Crazy, SimonSaysStamp Apothecary Labels (looks like stamp set is no longer available...sorry)

Birthday Masking

Oooh, I am learning plenty of tricks in the Online Card Class Mask-erade!  Today (Day 4), was a real eye opener!

This card went together very quickly thanks to the freezer paper mask.  I used Fossilized Amber and Mermaid Lagoon Distress Stains to spray the card after lightly wetting the surface.

The balloons were colored with the same two colors of Distress Ink.

Thanks for looking!

Dies:  Memory Box Grand Happy Birthday, C.C. Designs Balloons

Thursday, May 28, 2015

Liquid Masking

I have been looking forward to today's lesson on liquid masking at Online Card Class Mask-erade!  I knew that it was a product that I probably wasn't using enough.


One of the things I like about these classes is forcing me to go outside of my comfort zone.  I took an image that I had already colored and applied Dick Blick Liquid Frisket.  (Keeping my fingers crossed that the masking wouldn't impact the coloring...it didn't)

This is what he looked like partway through the process.
I then proceeded to play.  I smooshed Tumbled Glass, Broken China and Mermaid Lagoon Distress Inks on the background; stamped with Tumbled Glass and then added some stenciling with Pumice Stone.  I need some more practice on mixing colors and patterns but I think the result is fun.  I picture the bear floating through a jumble of emotions thinking about the person that he misses!

Thanks for looking...back to getting inky!

Stamps:  Penny Black Up and Away (bear...the girl accompanying him is charming!), Impression Obsession Cover a Card Rolling Waves, Paper Smooches Sentiment Sampler

Stencil:  Stampers Anonymous Tim Holtz Bubble

Stenciling & Masking

I continue to be inspired by the Online Card Class Mask-erade!  This card mixed stenciling and masking. 


I received by SimonSaysStamp June 2015 Card Kit in the mail so I had to try out the fabulous die cut included in the kit!  (Great kit this month!!)

I am trying out different possibilities to use with my stencils.  Today I used Liquitex Flexible Modeling Paste and colored it with Distress Inks (Squeezed Lemonade, Wild Honey and Spiced Marmalade)  It mixed with the colors well.  I actually sponged some additional Spiced Marmalade over the top of the paste after it dried and that also seemed to work great.  I left a space for the die to take center stage.

I wanted to let the texture and die shine so kept it simple with some twine and a layer to match the die cut.  Here is a close-up of the texture from the modeling paste:

Thanks for looking!

Die:  SimonSaysStamp Smile Circle
Stencil:  Heidi Swapp

Wednesday, May 27, 2015

A Watercolor Variation on Flowery Butterfly


I am fascinated by this masking technique so had to try a variation from this card.  This time I stamped the Rubber Stamp Tapestry peg stamps with Distress Ink onto watercolor paper. (I used Worn Lipstick, Seedless Preserves, Chipped Sapphire, Bundled Sage, Peeled Paint, Old Paper and Pumice Stone.)  After removing the mask, I moved the ink around to give a watercolor effect.  Here is a close-up of the butterfly.

After drying, I applied the the mask over the butterfly and stamped a background image in Distress Ink (Old Paper.)  I dropped water on the background and let it move a bit.

The edges were inked with Old Paper Distress Ink and a sentiment and sequins added.  It was mounted on a card made from the same paper as the sentiment. 

Now....I have to try something else from the Online Card Class Mask-erade!

Thanks for taking a look!

Stamps:  Various Rubber Stamp Tapestry peg stamp, Impression Obsession Cover A Card Music
Die:  Limitations (for the butterfly mask) and Celebrate both from Sizzix/Time Holtz

Flowery Butterfly!

Today I am combining two of my favorite types of stamps--butterflies and flowers.  I pulled out my Rubber Stamp Tapestry peg stamps and had fun filling up a butterfly mask! 


I added a die cut sentiment from Tim Holtz...I was so excited to receive the dies yesterday.  I pre-ordered them back in February!

This card was inspired by the ongoing Online Card Class Mask-erade.

Dies:  Celebrate, Limitations (for the mask)--both from Sizzix/Tim Holtz, MyFavoriteThings Blueprints 20 (for the stitched rectangle)
Stamps:  SimonSaysStamp Happy, a variety of Rubber Stamp Tapestry peg stamps

Thanks for taking a look!

Monday, May 25, 2015

Another Thank You Card

While I had the die out, I decided to use another image that I had recently colored.  I  watercolored the flowers (love this new Tim Holtz stamp!) with Abandoned Coral and Worn Lipstick Distress Markers so I carried that theme throughout the card.


The "Thanks" was sponged with the same two colors of Distress Ink then spritzed with water and Brushed Pewter Distress Stain.  I mounted the flowers on a sheet of fun foam and raised a portion of the "Thanks" block with fun foam as well.


The silver section was embossed with a new folder...I have never gotten such a deep impression.  It is truly spectacular!  ...and it is 6X6 to provide maximum flexibility!  I added a couple of strips cut from the "Thanks" block for the top and the bottom of the card.

I will be entering this in the SimonSaysStamp Monday Challenge to make a thank you card.

Thanks for taking a look!

Irene

Die:  My Favorite Things Many Thanks
Stamp:  Stampers Anonymous/Tim Holtz Flower Garden
Embossing Folder: WeR Memory Keepers Next Level Woven

Inspired to Die Cut


I saw this challenge last week and was very inspired by the Muse photo with the inlaid die cuts.  Life then got busy and I am scrambling to post this before the link closes! 

I am also submitting this for the SimonSaysStamp Monday Challenge to make a thank you card.


Here is my card:

The background was the result of playing on watercolor paper with Twinkling H2Os, Distress Ink and finally a spritz of Distress markers.

The butterflies are from a favorite stamp and die cut set.  They were stamped on watercolor paper and Distress Ink was blended to match the background.

I mounted the sentiment on fun foam and then added the black drop shadow.

Thanks for taking a look!

Stamp:  Hero Arts/Sizzix Antique Flowers and Butterflies

Die:  My Favorite Things Many Thanks

Tuesday, May 12, 2015

Blue Christmas

I was introduced to another Christmas challenge, Muse: Christmas Visions.  What fun to get a card for inspiration and let the imagination run wild!

Here is the inspiration card:


 ...and here is my interpretation.  I was inspired by the blue poinsettia paired with metallic.

I embossed my image with Ranger Platinum embossing powder.

I went a bit lighter with Mermaid Lagoon Distress Ink to watercolor my flower.  The holly is a combination of Peeled Paint and Evergreen Bough.  The berries are shaded with Pumice Stone and the background is Fossilized Amber...because I just have to play with the new colors!

To finish the card, I covered a small sheet of paper with the same Platinum embossing powder and die cut "happy" and embossed the remainder of the sentiment with the same powder.  The blue layer was created by inking the edges with Mermaid Lagoon Distress Ink (my favorite strategy to get everything to coordinate!)

Thanks for taking a look!

Stamps:  Penny Black Festive Florals, Simon Says Stamp Happy (sentiment)
Die:  Simon Says Stamp Happy